
Water damage can be a significant problem for any homeowner. One of the most common types of water damage is water-damaged drywall. This type of damage can occur due to a variety of reasons, including plumbing leaks, roof leaks, and floods. Regardless of the cause, water-damaged drywall can cause significant problems if not addressed promptly.
Read on as we provide these six steps you can take before calling a contractor for water-damaged drywall repair.
Step 1: Identify the Source of the Water Damage
Before you can repair the water-damaged drywall, you must first identify the source of the water damage. This step is crucial, as you cannot repair the drywall until you have fixed the underlying problem.
In some cases, the source of the water damage may be obvious, such as a burst pipe or leaking roof. Meanwhile, in other cases, the source may be more difficult to identify, such as a slow leak or condensation buildup. If you are unsure of the source of the water damage, it is best to consult with a professional plumber or roofer.
Step 2: Assess the Extent of the Damage
Once you have identified the source of the water damage, the next step is to assess the extent of the damage. This step will help you determine whether you can repair the drywall yourself or if you need to call a contractor.
If the damage is minimal, such as a small patch of damp drywall, you may be able to repair the drywall yourself. However, if the damage is significant, such as an entire room with water-damaged drywall, it is best to call a contractor for assistance.
Step 3: Remove the Damaged Drywall
If you have determined that you can repair the water-damaged drywall yourself, the next step is to remove the damaged drywall. Doing this will allow you to assess the extent of the damage and determine if any underlying structural damage has occurred.
To remove the damaged drywall, you will need a utility knife, a pry bar, and a hammer. Start by cutting out the damaged section of drywall with the utility knife. Then, use the pry bar and hammer to remove the remaining drywall.
Step 4: Dry Out the Area
Once you have removed the damaged drywall, the next step is to dry out the area. This step is essential, as it will prevent any mold or mildew from developing. To dry out the area, you can use a dehumidifier or fans. It is also important to ensure that the area is well-ventilated to promote airflow.
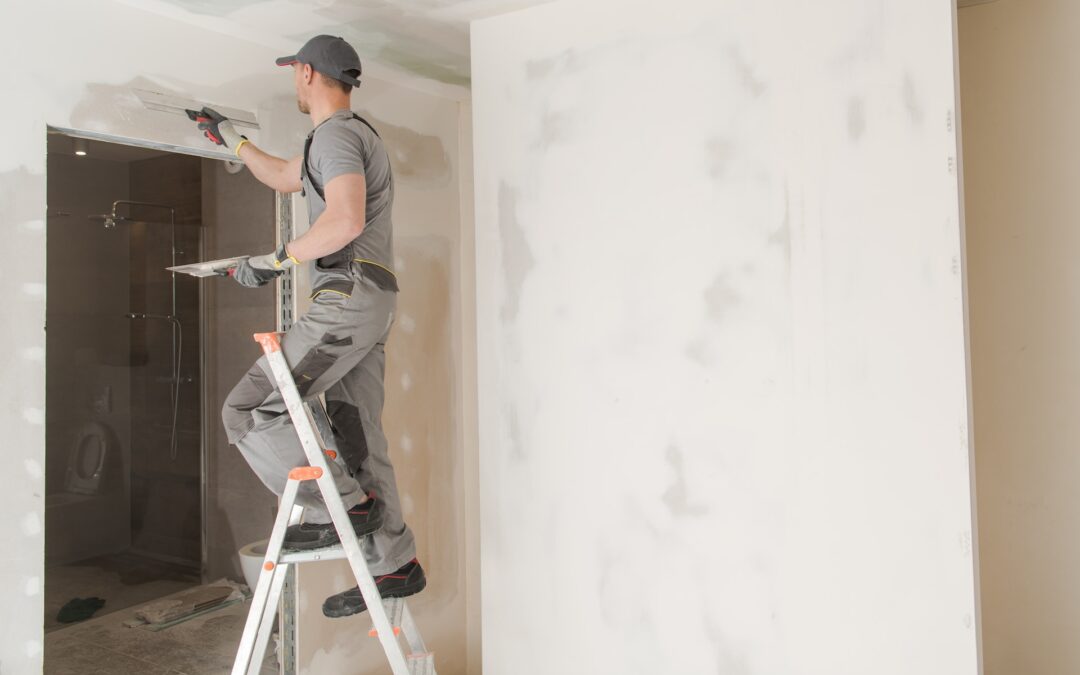
Step 5: Repair the Drywall
After the area has been dried out, the next step is to repair the drywall. To do this, you will need to replace the damaged drywall with new drywall.
Start by measuring the size of the hole and cutting a new piece of drywall to fit. Then, secure the new piece of drywall in place with drywall screws. Once the drywall is in place, use the drywall joint compound to fill in any gaps or seams. Allow the joint compound to dry completely before sanding it down and applying a second coat.
Step 6: Paint the Drywall
The final step in repairing water-damaged drywall is to paint the drywall. To do this, you will need to select a paint color that matches the surrounding walls. It is essential to allow the joint compound to dry completely before painting the drywall. Once the paint has dried, your water-damaged drywall repair is complete.
Conclusion
Water-damaged drywall can be a significant problem for any homeowner. Thankfully, there are ways to handle a DIY solution on your own, so that you can repair the drywall yourself before calling a contractor.
Remember to identify the source of the water damage, assess the extent of the damage, remove the damaged drywall, dry out the area, repair the drywall, and paint the drywall. By taking these steps, you can save time and money while restoring your home to its former glory.
Do you need professional drywall repair services? Patch Doctors Drywall, the #1 drywall and remodeling services provider, is here to help you restore the beauty of your home. Schedule your appointment today!